Launching a new product can be tricky. Did you know that around 95% of new products fail?
This often happens because businesses don’t have a clear plan. But don’t worry!
This blog post gives you a simple product launch checklist to follow.
We’ll show you how to check if your idea is good, find your perfect customers, build your product, and get ready to sell it.
You’ll learn how to test everything, make a big splash on launch day, and keep making your product better. Get ready to turn your idea into a success story!
Step 1: Validate Your Product Idea
Before you pour your time, energy, and money into building a product, you need to make sure people actually want it. This is called product validation.
It’s like asking, “Is anyone going to buy this?” before you even start making it. Skipping this step is a common mistake.
Many new entrepreneurs create something they think is great, only to find out later that no one needs it. This leads to wasted effort and disappointment.
Validating your idea means finding proof that your product solves a real problem for real people. It helps you understand your potential customers better.
You learn about their needs, their pain points, and what they are willing to pay for. This early research saves you from building a product that nobody wants.
It also helps you create a product that truly helps people.
There are several simple ways to validate your idea.
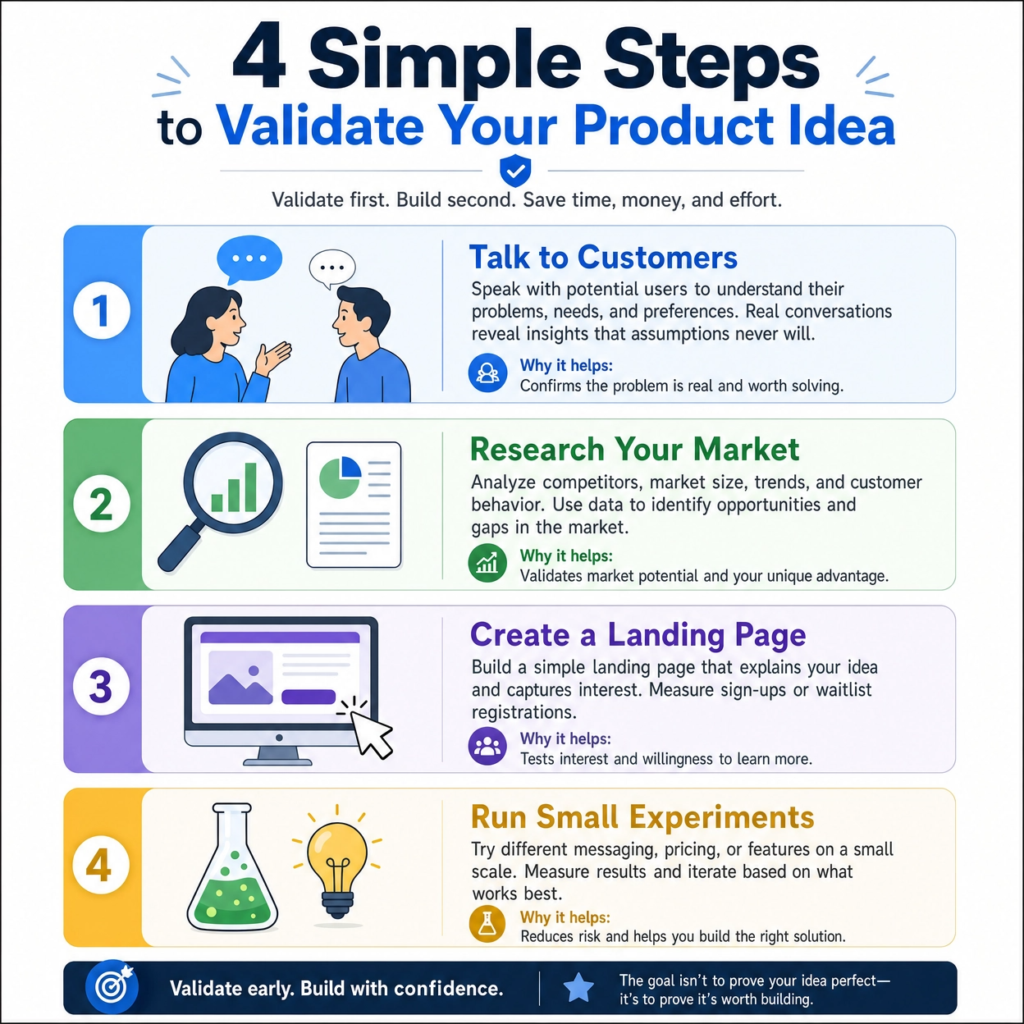
First, talk to potential customers. Ask them about their problems related to your idea.
Do they struggle with something your product could fix? Listen carefully to their answers.
Don’t just ask if they like your idea; ask about their current challenges. This gives you honest feedback.
Second, research your market. Look at what competitors are doing. Are there similar products? What do customers like or dislike about them?
This helps you find gaps in the market. You can see where your product can be different and better.
Third, create a simple landing page. This is a one-page website that describes your product. It asks people to sign up for updates or express interest.
You can even try to pre-sell your product. If people are willing to pay before it’s built, that’s strong validation. This shows real demand.
Fourth, run small experiments. This could be a survey, a social media poll, or even a small ad campaign. The goal is to see if people react positively to your idea. These experiments don’t need to cost a lot of money. They just need to give you clear answers.
Remember, validation is about reducing risk. It’s about making smart decisions early on. It helps you build a product that has a higher chance of success.
Don’t fall in love with your idea too much. Instead, fall in love with the problem you are trying to solve. Let your potential customers guide you.
Their feedback is gold. Use it to shape your product. This way, you build something truly valuable.
Step 2: Define Your Target Audience
After you validate your product idea, the next big step is to clearly understand who your product is for. This is called defining your target audience.
Imagine trying to sell a toy to everyone in the world. It would be impossible!
But if you know you’re selling a toy car to 5-year-old boys who love racing, your job becomes much easier. The same idea applies to your product.
Defining your target audience means figuring out exactly who will benefit most from your product.
It’s about knowing their age, where they live, what they do for work, and what they like. More importantly, it’s about understanding their problems, their hopes, and what motivates them.
When you know your audience well, you can create a product that truly speaks to them. You can also talk about your product in a way that catches their attention.
To define your target audience, start by asking some key questions. Who has the problem your product solves?
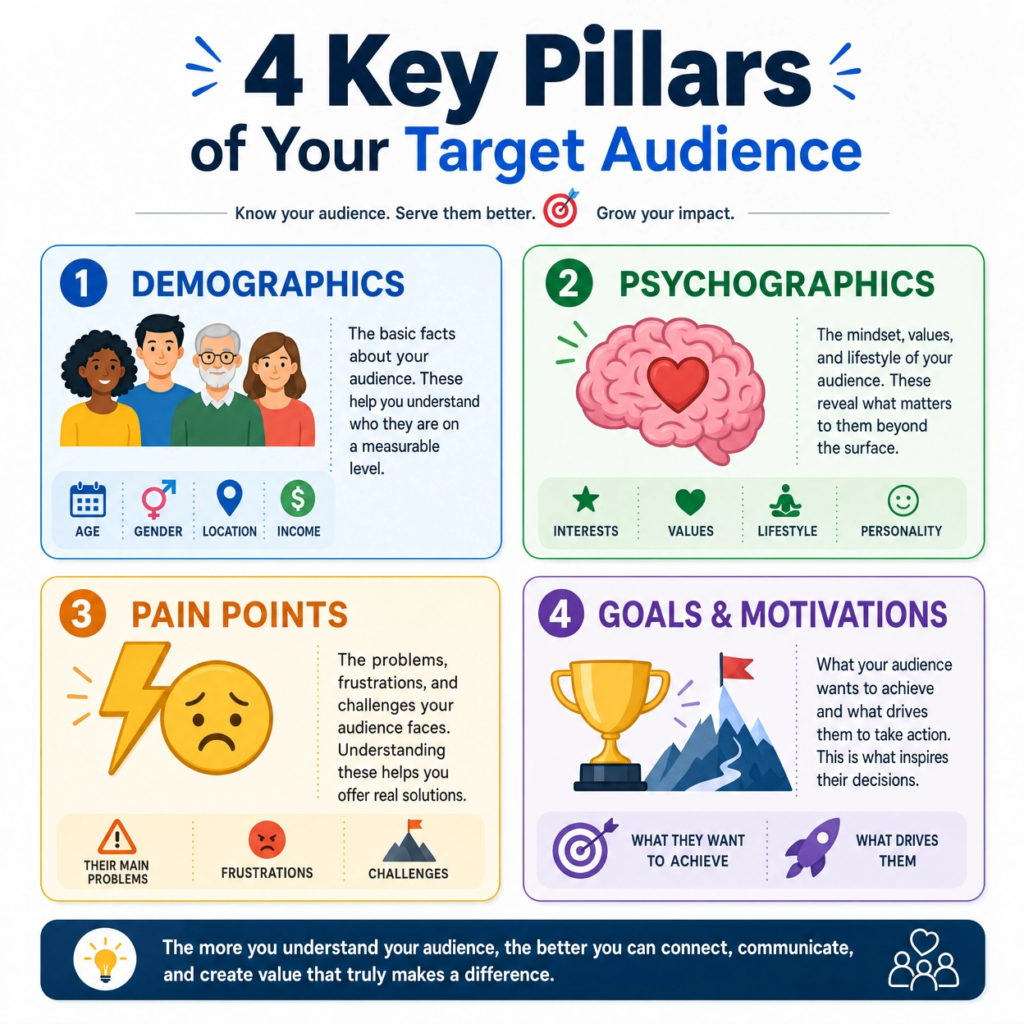
Think about their demographics: age, gender, income, education, and location.
For example, are they young professionals in big cities, or stay-at-home parents in the suburbs?
Next, consider their psychographics: what are their interests, hobbies, values, and lifestyle? Do they care about saving time, being creative, or staying healthy?
Then, think about their behavior. How do they currently try to solve the problem? What tools or services do they use? What do they like or dislike about those solutions?
This helps you understand their habits and how your product can fit into their lives.
You can gather this information through surveys, interviews, and by looking at online forums or social media groups where your potential customers hang out.
Once you have this information, you can create customer personas.
These are like fictional characters that represent your ideal customers. Give them names, jobs, and even a little backstory.
This makes your audience feel real. It helps you remember who you are building the product for.
When you clearly define your target audience, every decision you make about your product, from its features to how you talk about it, becomes much clearer.
It’s like having a map that guides you straight to the people who need your product the most.
Step 3: Create Your Product
Now that you have a validated idea and a clear understanding of your target audience, it’s time for the exciting part: creating your product.
This is where your vision starts to become real. Don’t aim for perfection right away. Think of it as building a first version, often called a Minimum Viable Product (MVP).
An MVP has just enough features to solve the core problem for your customers. It helps you get feedback quickly and improve.
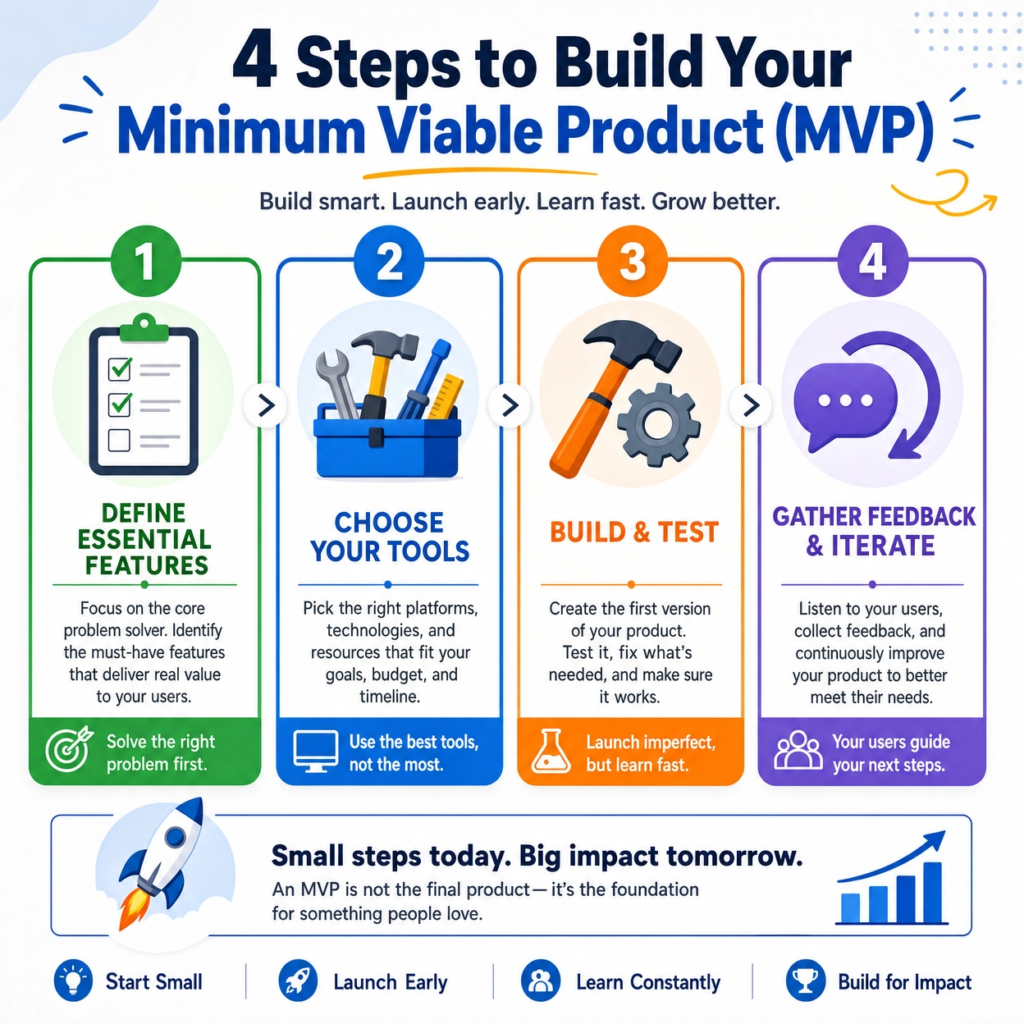
Start by outlining the essential features. What absolutely must be in your product for it to work and solve the main problem? Avoid adding too many bells and whistles at this stage.
Extra features can slow you down and confuse your users. Focus on the core value.
For example, if you’re building a task management app, the essential features might be creating tasks, setting due dates, and marking them as complete. Fancy reporting or team collaboration can come later.
Next, choose the right tools and resources. This depends on the type of product you’re creating.
For a digital product like an e-book, you might use a word processor and a design tool.
For a software app, you might need coding skills or a no-code platform. Don’t be afraid to learn new skills or find help if needed.
There are many online courses, tutorials, and communities that can guide you. The goal is to build your product efficiently.
As you build, keep your target audience in mind. Every decision, from the design to the user experience, should be made with them in mind.
Is it easy for them to use? Does it look appealing to them? Does it solve their problem in a simple way? Test your product as you go. Don’t wait until it’s finished.
Get feedback from a few trusted people. This helps you catch problems early and make adjustments.
Finally, remember that creating your product is an iterative process. This means you’ll build, test, learn, and then improve.
It’s rarely a straight line from idea to finished product. Embrace the journey of making it better and better based on real user experiences.
This approach ensures you build a product that not only works but also delights your customers.
Step 4: Build a Sales Page
Once your product is created, the next crucial step is to build a compelling sales page. This is your product’s storefront on the internet.
It’s where potential customers learn about your product, understand its value, and ultimately decide to buy it.
A great sales page isn’t just about listing features; it’s about telling a story and showing how your product solves a problem for your audience. Think of it as your best salesperson, working 24/7.
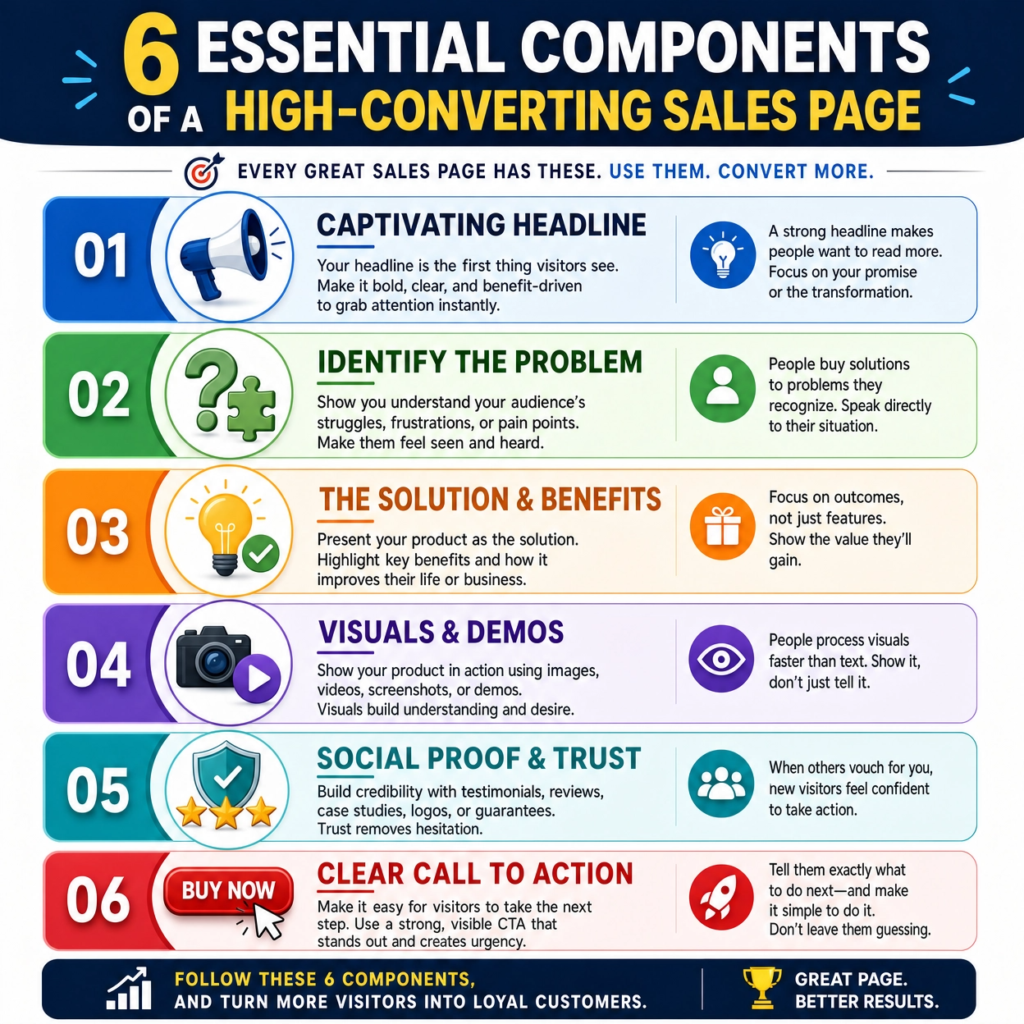
A strong sales page starts with a captivating headline. This should grab attention and clearly state the main benefit of your product.
For example, instead of “Our New App,” try “Unlock Your Productivity: Finish Tasks Faster with [Your App Name].” Below the headline, introduce the problem your product solves.
Make your audience feel understood. Use clear, simple language. Avoid jargon.
Remember, you’re talking to your target audience, so use words they understand and relate to.
Next, present your product as the solution. Explain how it works and what features it has. But don’t just list features; explain the benefits of each feature.
For instance, if a feature is “cloud storage,” the benefit is “access your files from anywhere, anytime.”
Use images, videos, or screenshots to show your product in action. Visuals make your page more engaging and help people understand faster.
People love to see what they are getting. Include social proof. This means showing testimonials from happy customers, case studies, or any awards your product has won.
People trust what others say more than what a company says about itself. A money-back guarantee or a clear refund policy can also build trust.
Finally, have a clear and prominent Call to Action (CTA). This is the button that tells people what to do next, like “Buy Now,” “Get Instant Access,” or “Start Your Free Trial.”
Make it easy to find and click. Ensure the buying process is smooth and secure.
Building a sales page is an art and a science. It requires understanding your customer’s journey and guiding them towards a purchase.
A well-crafted sales page can significantly increase your sales and make your product launch a success. Invest time in making it clear, persuasive, and easy to navigate.
Step 5: Set Up Email Marketing
Email marketing is a powerful tool for any product launch. It helps you connect directly with your audience.
It builds excitement before your launch. It also keeps customers engaged long after they buy.
Think of your email list as your direct line to people who are already interested in what you offer. This makes it a key part of your product launch checklist.
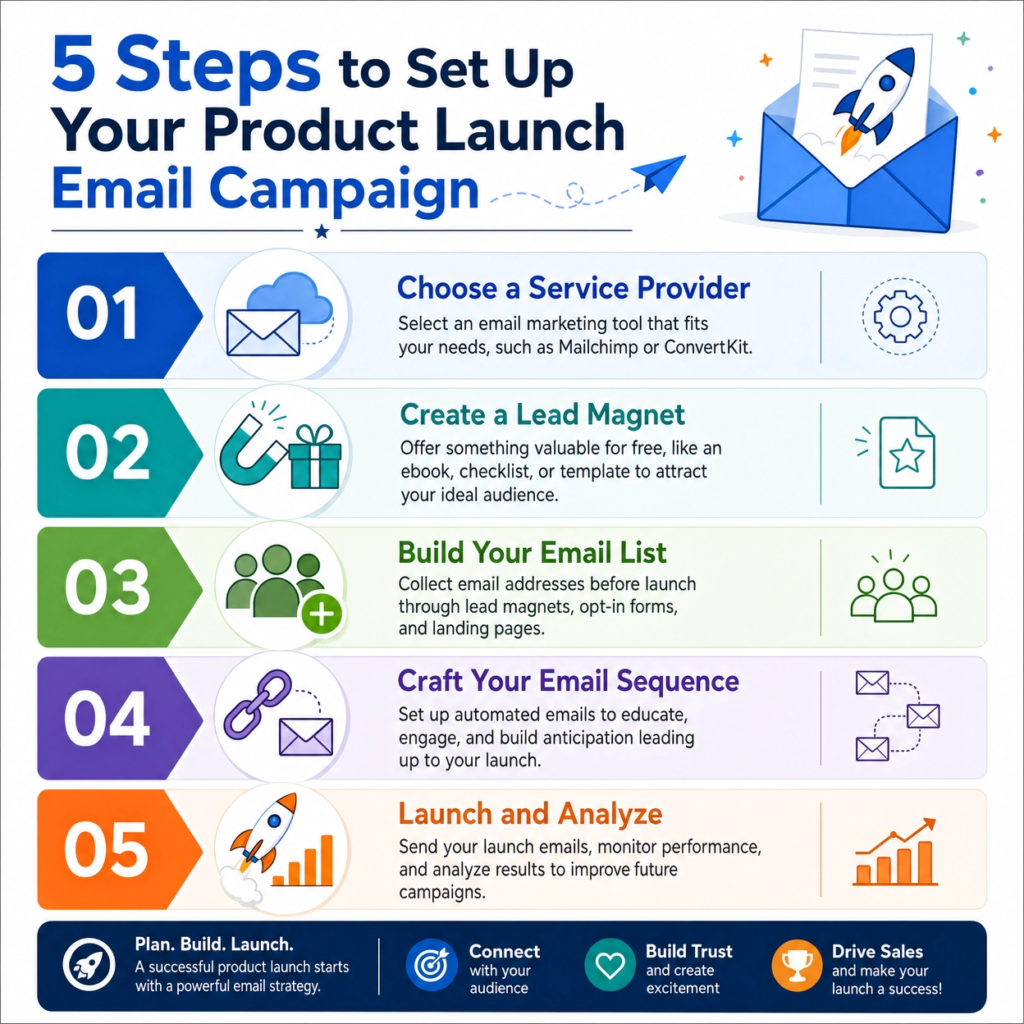
First, you need an email marketing service provider. Tools like Mailchimp, ConvertKit, or ActiveCampaign help you collect emails and send messages.
Choose one that fits your budget and needs.
Next, create a lead magnet. This is something valuable you offer for free in exchange for an email address.
It could be a mini-guide, a checklist, a free template, or an exclusive sneak peek of your product. This helps you build your email list even before your product is ready.
Once you have a service provider and a lead magnet, set up an email sequence. This is a series of automated emails that go out to new subscribers.
Your sequence should warm up your audience. It should introduce your product. It should also build anticipation for the launch.
A typical sequence might include:
- Welcome Email: Thank them for subscribing and delivering the lead magnet.
- Value Email: Share helpful tips or insights related to your product’s solution.
- Problem/Solution Email: Deep dive into the problem your product solves and hint at your solution.
- Product Introduction Email: Officially introduce your product and its benefits.
- Launch Day Email: Announce your product is live and include a clear call to action.
Make sure your emails are short, easy to read, and provide real value. Use clear subject lines to encourage openings.
Personalize your messages where possible. A well-planned email marketing strategy can significantly boost your launch success.
It turns interested people into paying customers. It also helps you build a loyal community around your brand.
Step 6: Create a Pre-Launch Strategy
A successful product launch doesn’t just happen overnight. It requires careful planning and building excitement before the actual launch day.
This is where a pre-launch strategy comes in. It’s all about getting people interested and ready to buy your product the moment it becomes available.
Think of it like a movie trailer: it gives a sneak peek, builds anticipation, and makes people want to see the full film.
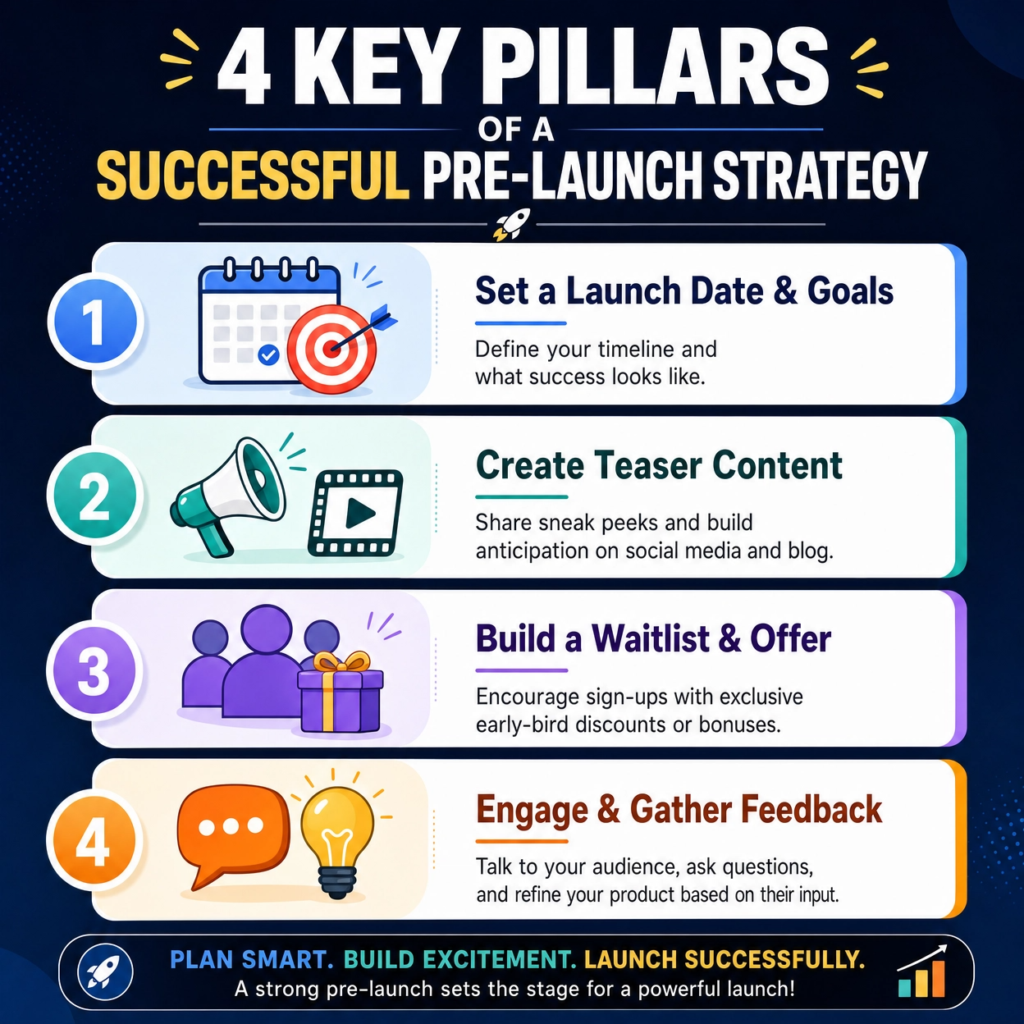
Start by setting a launch date. This gives you a clear deadline to work towards. Then, identify your pre-launch goals.
Do you want to build an email list? Generate buzz on social media? Get early feedback? Having clear goals will guide your activities.
Next, decide on your pre-launch content. This could include blog posts, social media teasers, behind-the-scenes videos, or even a free mini-course related to your product.
The goal is to provide value and show your expertise, without giving everything away.
One effective tactic is to create a waitlist or early bird offer. Encourage people to sign up to be notified when your product launches.
You can offer a special discount or bonus to those who join early. This creates a sense of exclusivity and urgency.
Promote your waitlist everywhere: on your website, social media, and in your email signature. Make it easy for people to join.
Engage with your audience during this phase. Ask them questions. Get their feedback on early versions or ideas.
This not only helps you refine your product but also makes your audience feel invested. They become part of your journey. This builds a strong connection.
Finally, plan your launch day activities. What will you do on the day your product goes live? Will you host a live webinar? Run a special promotion?
Have a clear plan for launch day to maximize your impact.
A well-executed pre-launch strategy can make all the difference between a quiet release and a booming success story of success.
Step 7: Set Pricing and Offers
Setting the right price for your product is very important. It affects how many people buy it. It also affects how much money you make.
Don’t just pick a number. Think about what your product is worth. Think about what your customers are willing to pay. This step is about finding that sweet spot. It makes your product attractive and profitable.
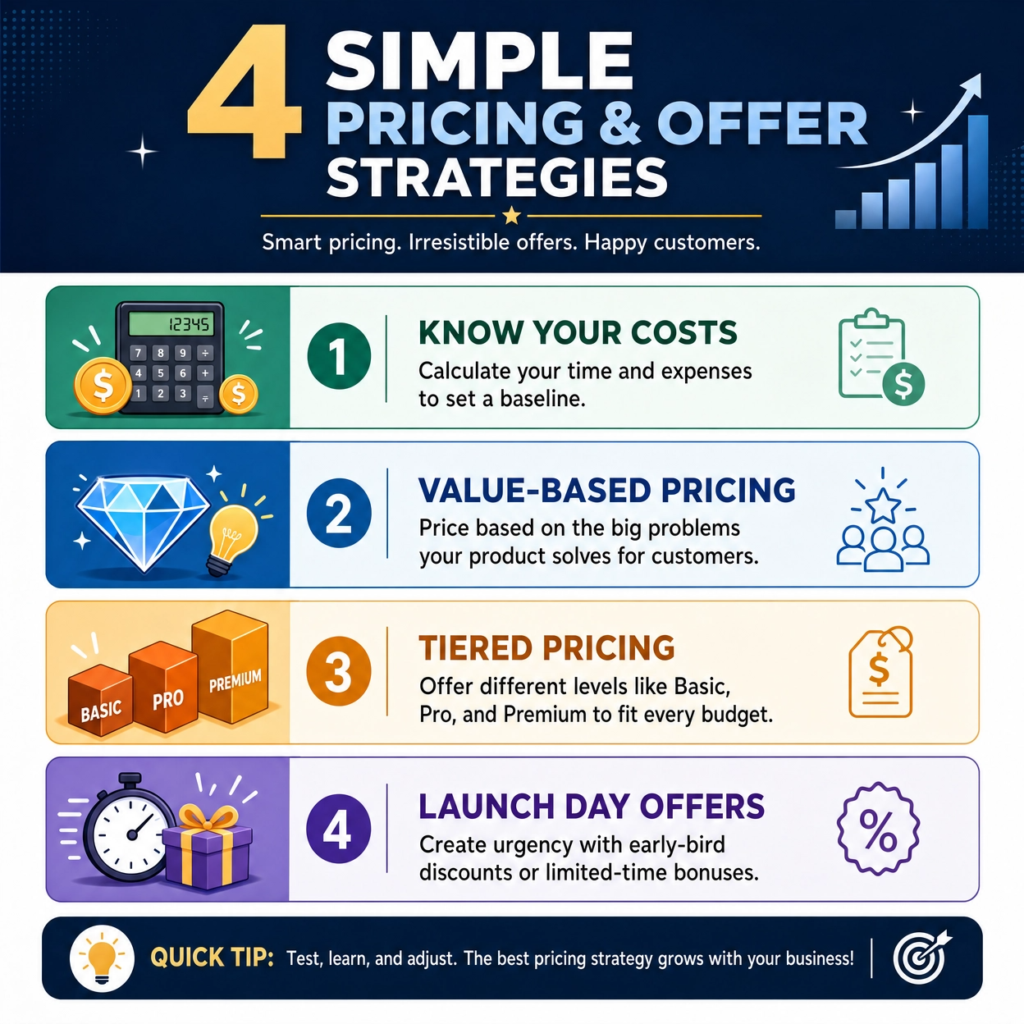
First, understand your costs. How much did it cost to create your product? This includes your time, tools, and any other expenses. You need to cover these costs to stay in business.
Next, look at your competitors. What are they charging for similar products? This gives you a benchmark. You don’t have to match their prices. But it helps you understand the market.
You can price higher if your product offers more value. You can price lower to attract new customers.
Consider value-based pricing. This means pricing your product based on the benefits it provides.
How much money or time does your product save your customers? How much joy or convenience does it bring? If your product solves a big problem, it can command a higher price.
For example, a tool that saves businesses hours of work each week is very valuable. Its price should reflect that.
Think about different pricing tiers. Can you offer a basic version and a premium version?
This lets customers choose what fits their needs and budget. You could have a free trial to let people try before they buy. Or a subscription model for ongoing access.
These options can increase sales. They also help with customer retention. Make sure your pricing is clear on your sales page. No hidden fees. Be transparent.
Finally, plan your launch offers. These are special deals you give when your product first comes out. An early bird discount is popular. Or a bonus package for the first few buyers.
These create urgency and excitement. They encourage people to buy right away.
A well-thought-out pricing strategy and attractive offers can make your product launch a huge success. It helps you reach your financial goals.
Step 8: Test Everything
Before your product goes live, you must test everything. This means checking every part of your product and your launch process.
Testing helps you find problems before your customers do. It makes sure your launch is smooth and successful.
Imagine a chef tasting their food before serving it. You need to do the same with your product.
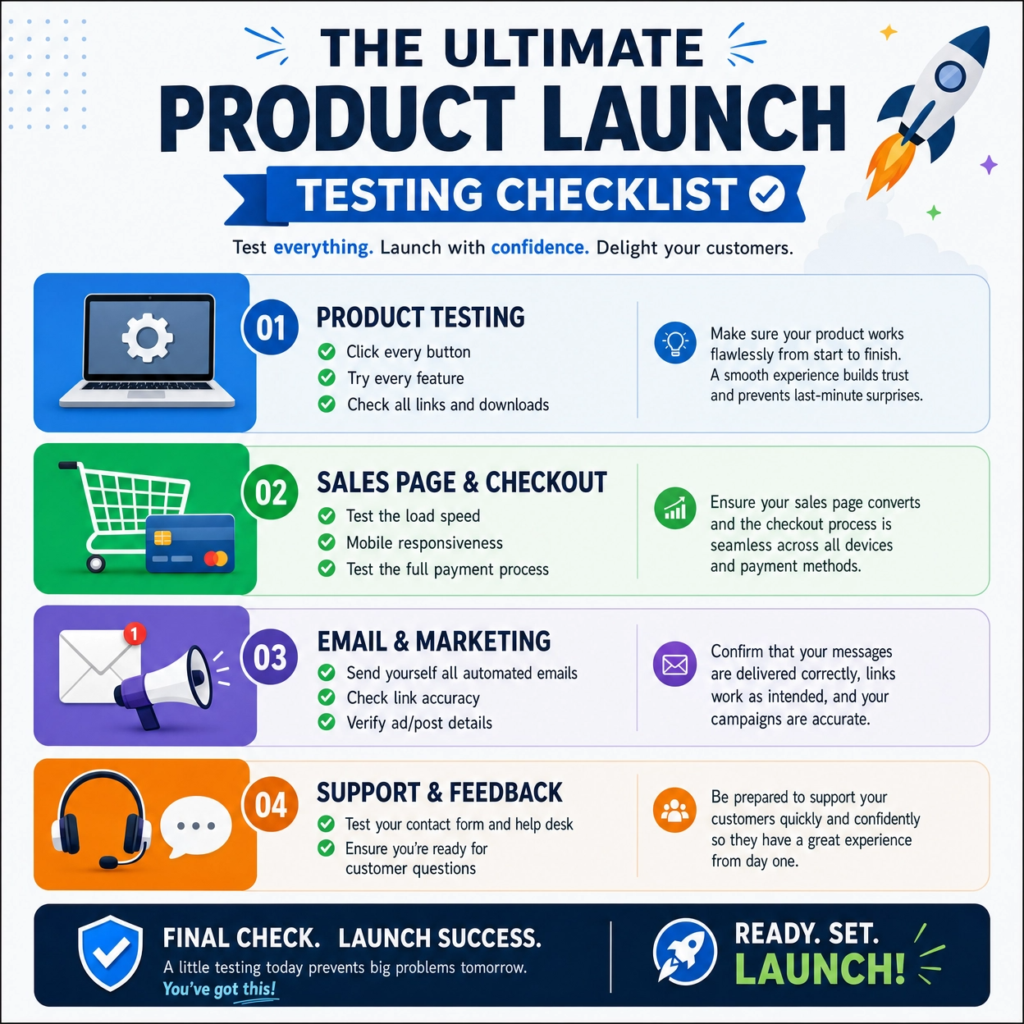
Start with your product itself. If it’s software, click every button. Try every feature. Make sure it works as expected.
If it’s a digital course, watch every video. Download every file. Check all the links. Ask friends or family to test it too. Fresh eyes can spot things you missed. This is called beta testing.
Next, test your sales page. Does it load quickly? Do all the images show up? Is the text easy to read? Most importantly, test the checkout process. Add your product to the cart.
Go through all the steps to buy it. Make sure payments go through correctly. Check that customers receive their product or access instantly. This is a critical step. Any problem here can lose you sales.
Also, test your email sequences. Send yourself all the emails a customer would receive.
Check the welcome email, purchase confirmation, and any follow-up messages.
Do the links work? Is the formatting correct? Do they sound friendly and professional? Make sure your customer support channels are ready.
Test your contact form. Check your help desk. Ensure you can respond to questions quickly.
Finally, test your marketing materials. Are your social media posts linking to the right places? Are your ads showing up correctly? Double-check all dates and times for any launch offers.
A small mistake can cause big problems. Testing everything might seem like a lot of work.
But it saves you from headaches later. It builds trust with your customers. A flawless launch leaves a great first impression. It sets you up for long-term success.
Step 9: Launch Your Product
The big day is here! Launching your product is exciting. It’s the moment your hard work pays off. But it’s not just about hitting a button.
It’s about executing your plan carefully. A smooth launch makes a great first impression. It sets the stage for future success.
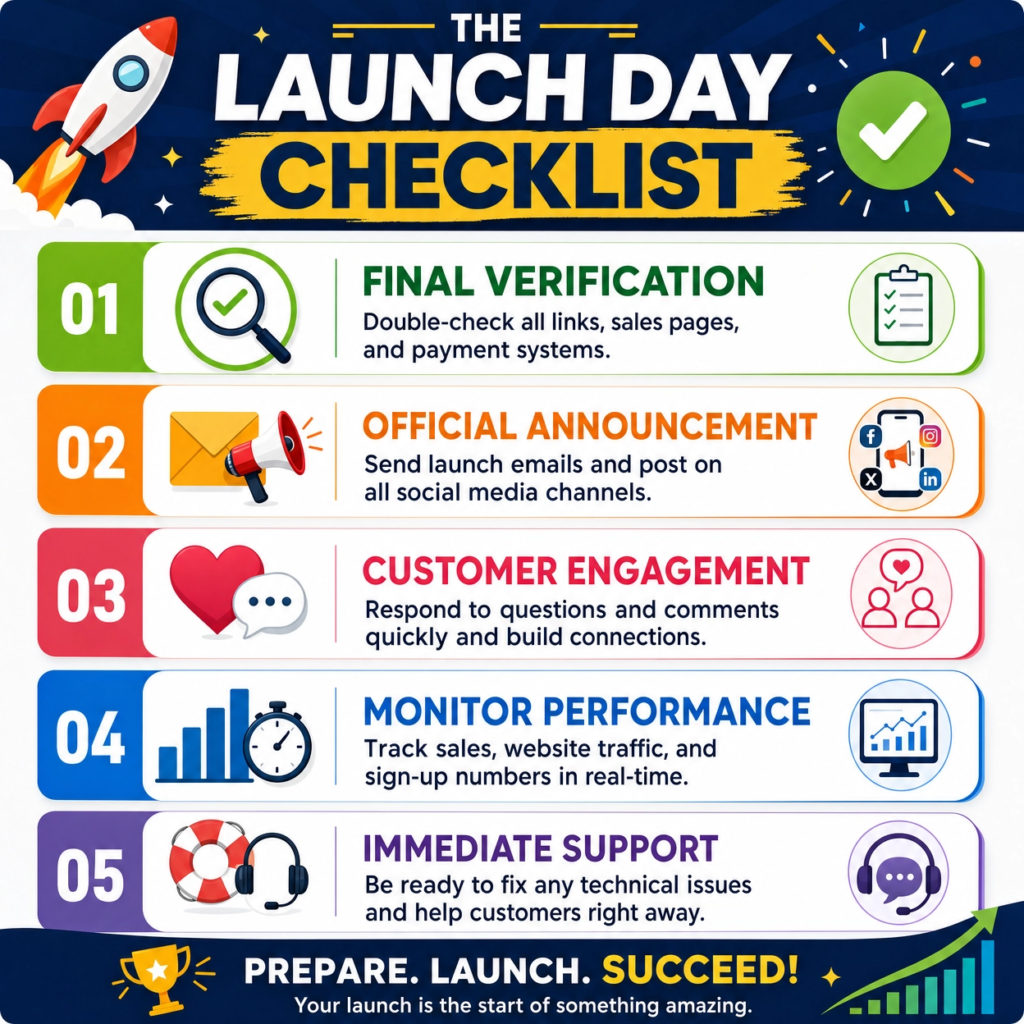
First, double-check everything one last time. Are all links working? Is your sales page live? Are your payment systems ready? Even small errors can cause big problems.
Make sure your team, if you have one, knows their roles. Everyone should be ready to help customers and fix any issues quickly.
Next, it’s time to announce your launch. Send out your pre-scheduled emails. Post on all your social media channels.
Share your news with your audience. Use the content you prepared during your pre-launch strategy.
Make sure your message is clear and exciting. Tell people what your product does and how it helps them.
Be ready to engage with your audience. People will have questions. They might share their excitement.
Respond to comments and messages quickly. This shows you care. It builds a strong connection with your first customers. Monitor your social media and email inboxes closely. Address any feedback or issues right away.
Consider running launch-day promotions. This could be a special discount or a bonus for early buyers. These offers create urgency. They encourage people to buy now.
Make sure these promotions are clearly communicated. And ensure they work correctly on your sales page.
Finally, track your launch performance. Watch your sales numbers. See how many people visit your sales page.
Check how many sign up for your product. Use tools like Google Analytics or your e-commerce platform’s reports.
This data tells you what’s working and what’s not. It helps you learn and improve for next time.
A successful launch is a marathon, not a sprint. It’s the start of your product’s journey.
Step 10: Analyze and Improve
Launching your product is a huge achievement. But the work doesn’t stop there.
The final, crucial step is to analyze what happened and use that information to make your product even better. This is how you grow and succeed long-term.
Think of it like a scientist reviewing their experiment results. You need to look at the data and learn from it.
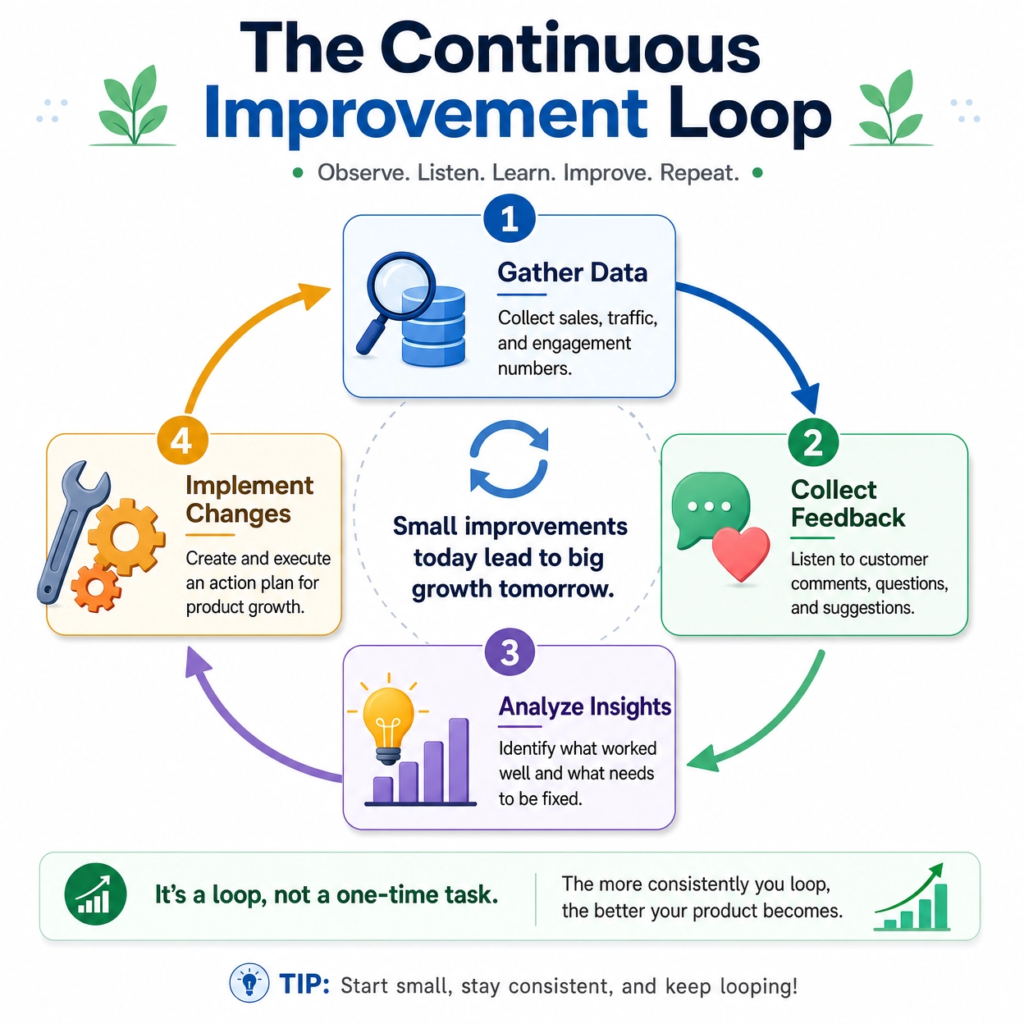
First, gather all your data. Look at your sales numbers.
How many products did you sell?
What was your revenue?
Check your website analytics.
How many people visited your sales page?
Where did they come from? How long did they stay?
Also, review your email marketing results. What were your open rates and click-through rates? Which emails performed best?
Next, look at customer feedback. Go through all the comments, questions, and messages you received.
What did people like? What problems did they have? Were there any common suggestions? This qualitative data is just as important as your numbers.
It tells you the “why” behind the “what.” Tools like surveys, social media monitoring, and direct customer interviews can help you collect this feedback.
Now, identify what worked well and what didn’t.
Did your pre-launch strategy create enough buzz?
Was your sales page converting visitors into buyers?
Did your product meet customer expectations?
Be honest with yourself. Celebrate your successes, but also be open to finding areas for improvement. This is not about blame; it’s about learning.
Finally, create an action plan for improvement. Based on your analysis, what changes do you need to make? Maybe your sales page needs clearer benefits.
Perhaps your product needs a new feature. Or maybe your email subject lines could be more engaging.
Prioritize these changes. Start with the ones that will have the biggest impact. Then, implement them and repeat the cycle.
This continuous process of analysis and improvement is key to building a product that customers love and that continues to grow.
Conclusion
Launching a digital product can feel like climbing a mountain. But with a clear map and the right tools, you can reach the summit.
This checklist has guided you through 10 essential steps, from validating your initial idea to analyzing your post-launch performance.
Each step is a building block, ensuring you create a product that truly solves a problem, reaches the right people, and generates excitement.
Remember, a successful launch isn’t just about pressing a button. It’s about careful planning, understanding your audience, building a great product, and communicating its value effectively. It’s about testing, learning, and adapting.
By following these steps, you’re not just launching a product; you’re building a foundation for long-term success and a loyal customer base.